
Kitchen, bathroom, floor painting & more
We provide interior painting services for kitchens, bathrooms and floors across residential and commercial properties in Newcastle. Our painters use detailed preparation methods and durable coatings to achieve clean finishes on cabinets, walls, tiles and flooring surfaces. Whether you're updating a kitchen, refreshing a bathroom or repainting worn interior floors, we deliver practical painting solutions tailored to your space and style.
Kingfisher Painting reigns supreme!

Contact us for a free painting estimate, and let's make your home fit for royalty!
Residential interior painting
Kingfisher Painting Services provides residential interior painting for homes and apartments across Newcastle. From single rooms to full home repaints, our painters deliver smooth finishes with careful preparation and attention to detail. We work closely with homeowners to achieve colours and finishes that suit the style of the property while minimising disruption throughout the painting process.
Commercial interior painting
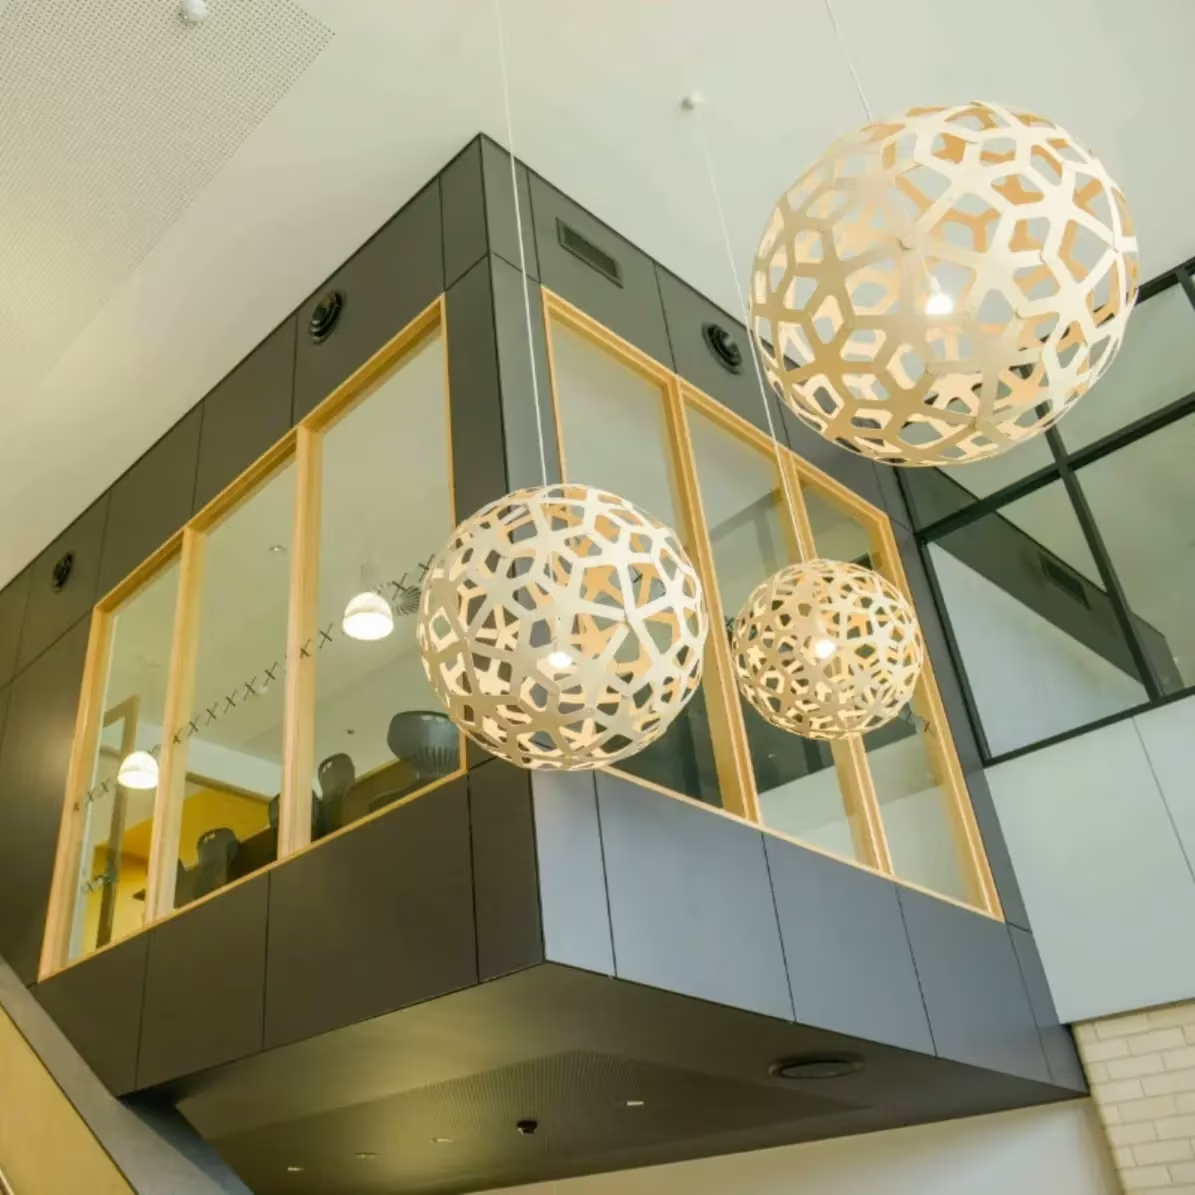
We provide commercial interior painting services for offices, retail spaces, strata properties, schools, hospitality venues and commercial buildings across Newcastle. Our painters work efficiently to minimise disruption to staff, customers and day-to-day operations while maintaining clean work areas and consistent project timelines. From preparation through to final detailing, we deliver reliable workmanship and durable finishes for commercial interiors.


Interior painting Newcastle
Interior painters Newcastle
House painting Newcastle
Kitchen painting Newcastle
Bathroom painting Newcastle
Wall painting Newcastle
Door painting Newcastle
Floor painting Newcastle
Renovation, remodelling & repair painting
Kingfisher Painting Services provides painting solutions for renovations, remodels and interior repairs across Newcastle. We handle gyprock repairs, plaster repairs and surface preparation, including patching cracks, dents, holes and damaged areas before painting begins. Our painters repaint walls, ceilings, doors, skirting boards and interior surfaces to help restore and refresh homes, apartments and commercial spaces with clean, consistent finishes.
Walls, doors & trim painting
We provide detailed painting for walls, interior doors, trims, skirting boards and window frames across Newcastle. Using quality paints and careful preparation techniques, our painters achieve smooth finishes, sharp lines and long-lasting results that complement the rest of your interior space.
The interior painters you can trust
Kingfisher Painting Services provides interior painting for residential, commercial and industrial properties across Newcastle. Our experienced painters focus on reliable service, detailed preparation and quality finishes for projects of all sizes. Whether you're repainting a single room, renovating an interior or updating a commercial property, we deliver practical painting solutions tailored to your project requirements.
Contact us
Contact us today for a free painting estimate!
Get a free estimate
